Elixir Wells contain some of the most challenging fights that Enshrouded has to offer. The area surrounding them is covered by the Shroud and filled with enemies, and deep below the surface of the Well, a big fight and a Shroud Root await you.
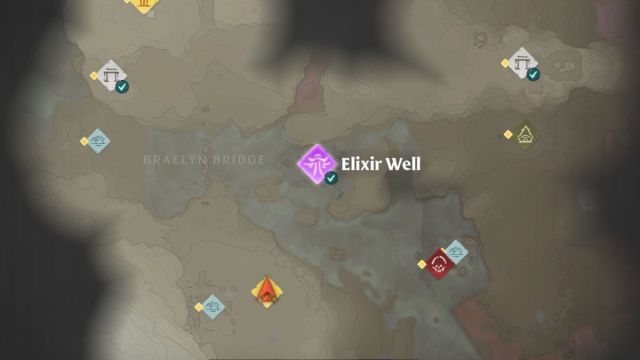
To fully clear a Well you need to chop down the Shroud Root at its core with some kind of axe. You’ll get your first opportunity to do this around the time you build your first glider and grappling hook. Now that you’ve got all the basic gear you need to easily traverse the world, you should be able to reach the Elixir Well just north of the plains. The Well west of the Braelyn Bridge, but you can shorten your travel time by using your newly acquired glider to fly through some of the Shrouded that surrounds it.
Once you get to the Well, expect a sizable fight. It’s a good idea to stock up on water, bandages, and Purple Berries to keep your health and stamina in good supply. You’ll probably encounter the Well fairly early into your playthrough, so it won’t take much for an enemy to kill you. I was still getting the hang of the game’s combat and died more than once when I was trying to clear out the area.
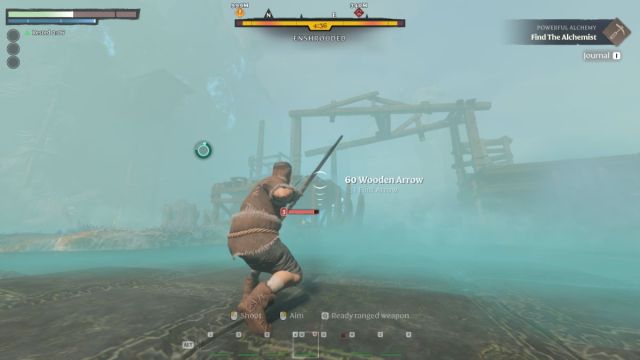
There’s nearly a dozen enemies surrounding this particular Well. If you’re approaching from the west, you should look out for a bowman standing on some scaffolding on your left because he’ll start firing on you as soon as you approach. Go slowly as you make your way toward the large staircase at the east end of the Well. I managed to clear out the enemies by carefully aggroing just one at a time, and I also found my wand to be a major help here because I could run away in terror while firing shots over my shoulder to deal with whatever was chasing me.
Facing Fell Thunderbrute
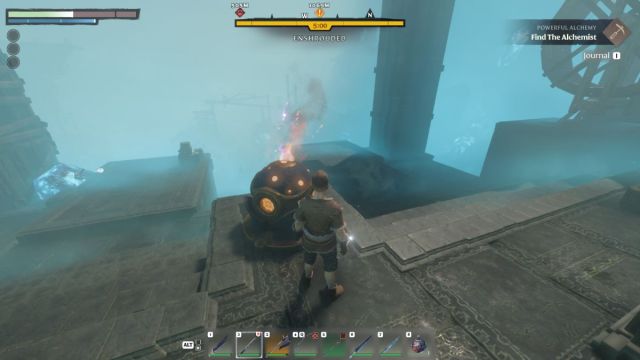
There’s a Return Beacon – the closest thing Enshrouded has to a save point – at the top of the staircase on the east side of the area. Head up to it after you’ve killed all the enemies, or go straight there if you’re running short on time because the Beacon will refuel your Shroud timer. Behind the Beacon is the pit that leads into the heart of the Well.
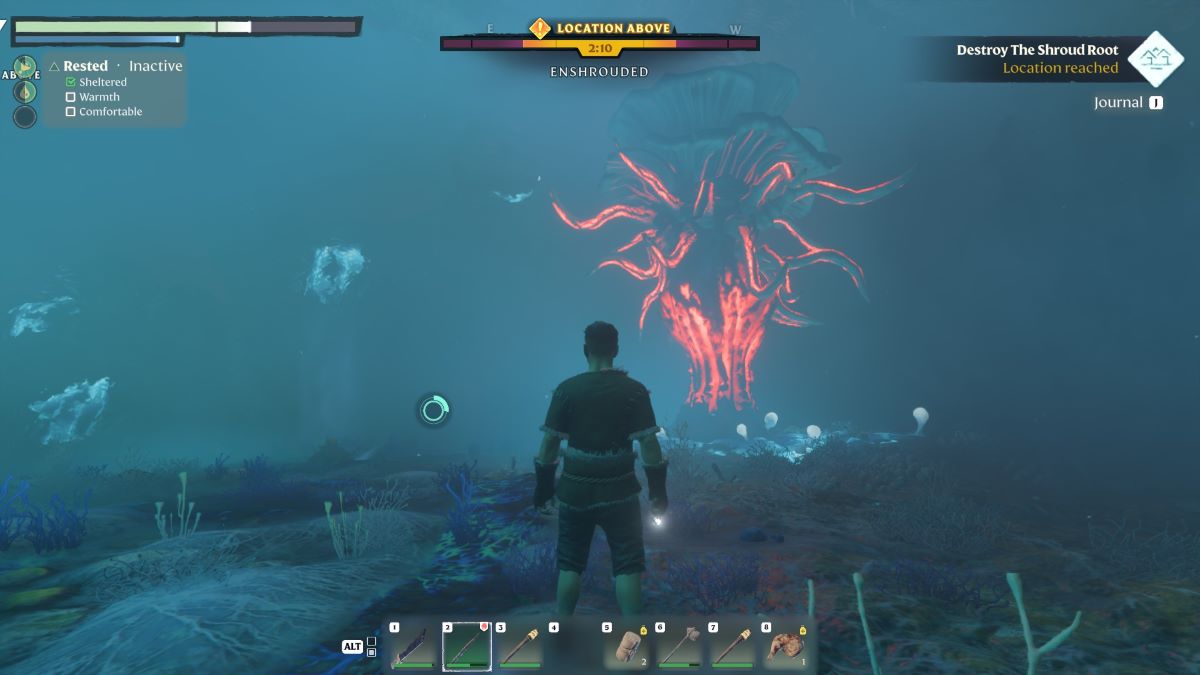
Deep below the surface of the Elixir Well is a Shroud Root that’s spreading the poison fog above. To complete the quest you need to chop the Shroud Root down with an axe, but before you can get to it, you’ll need to fight Fell Thunderbrute. He’s a massive, horned monster wielding a giant axe that can tear through your health bar pretty quickly.

The first time I fought Fell, he swung his axe straight down on top of me, and I thought I was clever by rolling backward out of the way. Unfortunately Fell’s attacks rupture the ground in front of him, so I still took a ton of damage and died shortly afterward. When he swings, you want to roll left or right out of the way, then run forward to deal some damage. You’ll do bonus damage if you hit him from behind, and as an added bonus you won’t get hit by his front-facing kick attack.
This is another place where I heavily leaned on my wand. After drinking some water, it was pretty easy to keep my stamina high enough to avoid his attacks while shooting spells whenever I had an opening. It definitely made the boss fight drag on longer than it needed to, but sometimes I’m willing to trade speed for safety.
That’s about it. With the boss out of the way, you’re free to chop down the Shroud Root at your leisure. Not every Elixir Well has a boss like fell Thunderbrute. Some are just filled with a ton of tough enemies, but all of them require you to stock up on supplies and prepare for an intense fight.