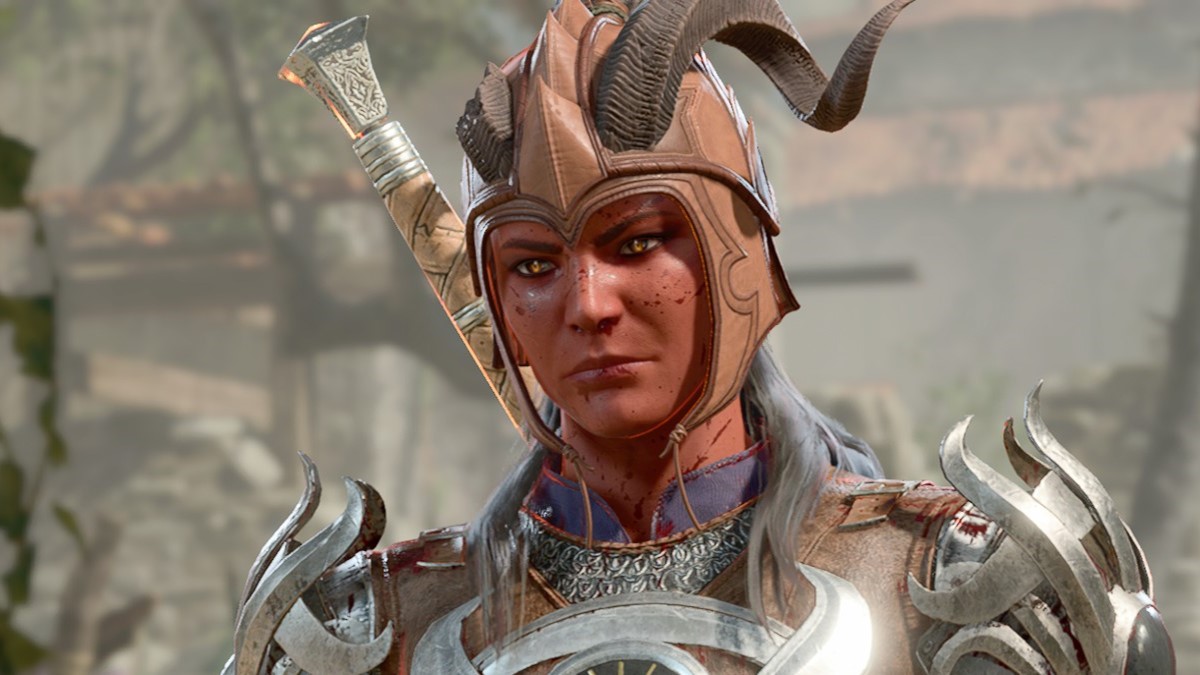
In a game like Baldur’s Gate 3, where actions are less dependent on stats than the rolling of dice, it’s important to experiment with a variety of equipment and abilities. This is especially true for a damage powerhouse like Karlach, who can dish out enough pain to vanquish many enemies in a single turn — so long as you’re customizing her appropriately.
In my experience, there has been a moderate amount of confidence that as long as Karlach survives — even if she’s the only one left — I at least stand a fighting chance. I’ll admit this wasn’t the case during my confrontation with Ketheric Thorm, where Shadowheart delivered the coup de grace, if you can believe it. But in every other instance, Karlach is the one character who I can rest assured will keep me on the path to victory.
So, let’s take a look at my Karlach build, including the equipment and abilities I used to achieve this. I will be primarily focusing on the version of my build as of the early missions in Act 3, as any build that is able to contribute to that final fight with the Apostle of Myrkle is a good one in my book. I can’t believe how pain-stakingly difficult that boss was.

Best Karlach Equipment
So, let’s start with her equipment. I have kept her with a basic Leather Helmet, which adds a point to Dexterity Saving Throws, because — to be honest, helmets have been pretty scarce in my playthrough, so I didn’t have much of a choice.
But, for her body attire I have Reaper’s Embrace, which is a very rare heavy armor with an armor class of 19 and reduces all incoming damage by 2. It’s important to note that my Karlach is not proficient with heavy armor, but I still find this to be a very efficient assignment. This lack in armor proficiency restricts Karlach’s use of spells, so keep that in mind.
For gloves, we have the uncommon Thermoarcanic Gloves, which gives Karlach two turns of Heat anytime she takes Fire Damage. I have her wearing the Amulet of Selune’s Chosen, which activates the Selune’s Dream evocation cantrip, which is a potential double-edged sword where an ally could regain some hit points, but could also fall asleep.
An interesting weapon assignment is the Githyanki Greatsword as a melee weapon. I was unable to save Lae’zel in my playthrough, so while this sword was once wielded by my original character, it now rests in Karlach’s hands. It delivers between 7 and 20 points of damage, but its secondary effect is only effective if it’s wielded by a Githyanki.
Another good pick for melee weapon (if you’d like to avoid giving Karlach a Githyanki sword) is the Duellist’s Prerogative, which allows you to score a Critical Hit anytime you roll a 19, so long as the sword is in your main hand. You’ll also receive an additional reaction each turn. You can also deal some reaction-based necrotic damage equal to your proficiency bonus. But, it only deals between 8 and 18 points of damage.
I then have her wielding a Longbow +1 as her ranged weapon, which dishes out between 3 and 10 points of damage and has a weapon enhancement of +1. But in Karlach’s case, you’re mostly going to prioritize up-close and personal attacks, which brings us to the best abilities and skills.
Best Karlach Abilities and Spells
I think what makes Karlach such a deliverer of damage is a mix of several different passive and active abilities. Because she’s a natural barbarian, I let her learn Rage: Tiger Heart, which empowers Karlach’s leaps, letting you get up-close and personal with an unsuspecting foe.
I also make excellent use of the Great Weapon Master: Bonus Attack passive feature, which allows for Karlach to make an extra attack if she lands a critical hit or kills an enemy with melee. It’s that, paired with the extra attack that all Barbarians gain access to at level 5, that allows Karlach to often attack up to three times in the course of a single turn.
So, I hope that helps you to customize your own Karlach build. I am still evolving and learning new ways to unleash the nine hells on my enemies, so you may find a more efficient method on your end. But, at the very least I hope this was a good starting point for you as you work to either protect or condemn Faerun and the Sword Coast in Baldur’s Gate 3.


