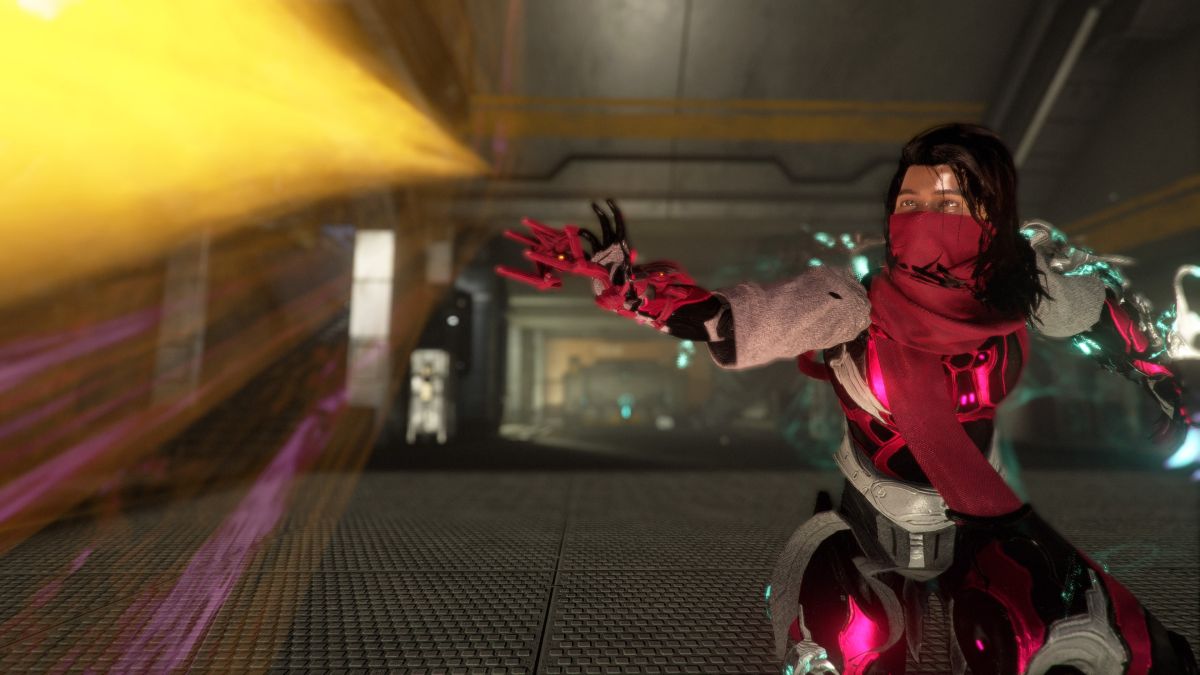
The whole Amp system in Warframe can be a bit overwhelming and complicated. It’s a modular system where you can choose what parts to combine to make the perfect weapon for your Operator. The thing is, there’s going to be a meta, just like the rest of the game. Since components to craft these aren’t too easy to come by, here are five of the best Amps we came up with in Warframe. It’ll help save you time on messing around with less effective parts.
The best amps in Warframe, ranked
As you will see, the Amps will be listed by components. They are listed by Prism, Scaffold, and Brace. The Prism will be your Amp’s primary firing mechanism, with the Scaffold being the secondary. The Brace will determine a stat effect like critical, status, or recharge time.
Also, these loadouts are going to be denoted with numbers. There is a universal numbering system that people refer to when discussing Amps. It’s based on how early you unlock a part for buying and crafting. The numbers will go from one (1) through seven (7). Tiers 1-4 will be Quills ranks on Cetus while 5-7 will be from the Vox Solaris in Fortuna.
For example, the Lohrin Brace is something you unlock at Rank 3 – Adherent, with the Quills in Cetus. As you’ll see below, it’ll be denoted as ‘3’ in the Amp builds. In terms of Vox Solaris, you won’t get any Amp parts until you’re Rank 2 – Agent with them. As such, the numbers continue starting at 5 at Rank 2, so if you refer to the Cantic Prism, that means it’s 5 in the first numerical slot.
Cantic Prism, Sharksun Scaffold, Lohrin Brace (523)
This setup is going to feel like a semi-auto burst rifle with a grenade attachment to it. You’ll be able to have good coverage from far and mid-range. Since it does feel like a standard loadout with little gimmicks, it’ll mostly be good for single targets. It’ll do pretty well against Eidolons and Void Angels.
Klamora Prism, Propa Scaffold, Certus Brace (777)
This is probably going to be the most ‘fun’ Amp on this list. The combination of these parts turns your Amp into a flamethrower that can shoot a payload with a large explosive radius. You have to play very close-quarters with this setup since the primary fire doesn’t go too far.
The explosive projectile doesn’t travel far either, but what it excels in is clearing trash mobs. It’ll also deal fairly decent damage to Eidolon shields, so it’s quite versatile. This setup will struggle against Void Angels because of how far they are during their void phases.
Raplak Prism, Shraksun Scaffold, Lohrin Brace (123)
This is a common combination for starter builds. Borrowing heavily from the first build (523), you replace the burst fire with a semi-auto firing mechanism that deals very high, single-target damage. It feels like you’re using a DMR with a grenade attachment to it, so you have some coverage at most ranges.
This is a solid pick when dealing with Void Angels and Eidolons, so you’re covered there.
Shwaak Prism, Pencha Scaffold, Lohrin Brace (213)
If you’re a fan of the Arca Plasmor or the Fulmin’s secondary firing mode, you’ll love this Amp. The Shwaak Prism shoots a projectile like the aforementioned weapons, which is exceptional at clearing enemies who are lined up. It’ll also do great damage against Eidolon shields and Void Angels.
If you need a bit more range with this setup, that’s where the Pencha Scaffold comes in. It’ll cover you at long ranges, turning this Amp into a shotgun and sniper.
Raplak Prism, Phahd Scaffold, Certus Brace (147)
Lastly, we’re at a setup that covers most weaknesses when mixing and matching parts. The Raplak Prism is the strongest single-target Amp component, making it good at defeating larger enemies that are only affected by Void damage.
Combine that with the Phahd Scaffold, which is good for dealing with mobs of enemies. It doesn’t have the explosive output like previous mentions, but the bouncing projectile is good at killing enemies in groups.
If it isn’t obvious, all of the builds utilized the Lohrin Brace or Certus Brace because of those boosts to Critical Chance. This is the strongest stat compared to having a larger energy pool or shorter recharge delays. Having to wait half a second to a full second less to recharge doesn’t match up to dealing multiplicative criticals on enemies.
Simply having one of those braces already makes your loadout feel like one of the best amps to use in Warframe. Don’t forget about the other ones if less downtime is your play style, but the overall DPS is significantly higher than if you were to opt for better energy economies.